
Essential Guide: How to Replace Bulbs in Outdoor Fixtures
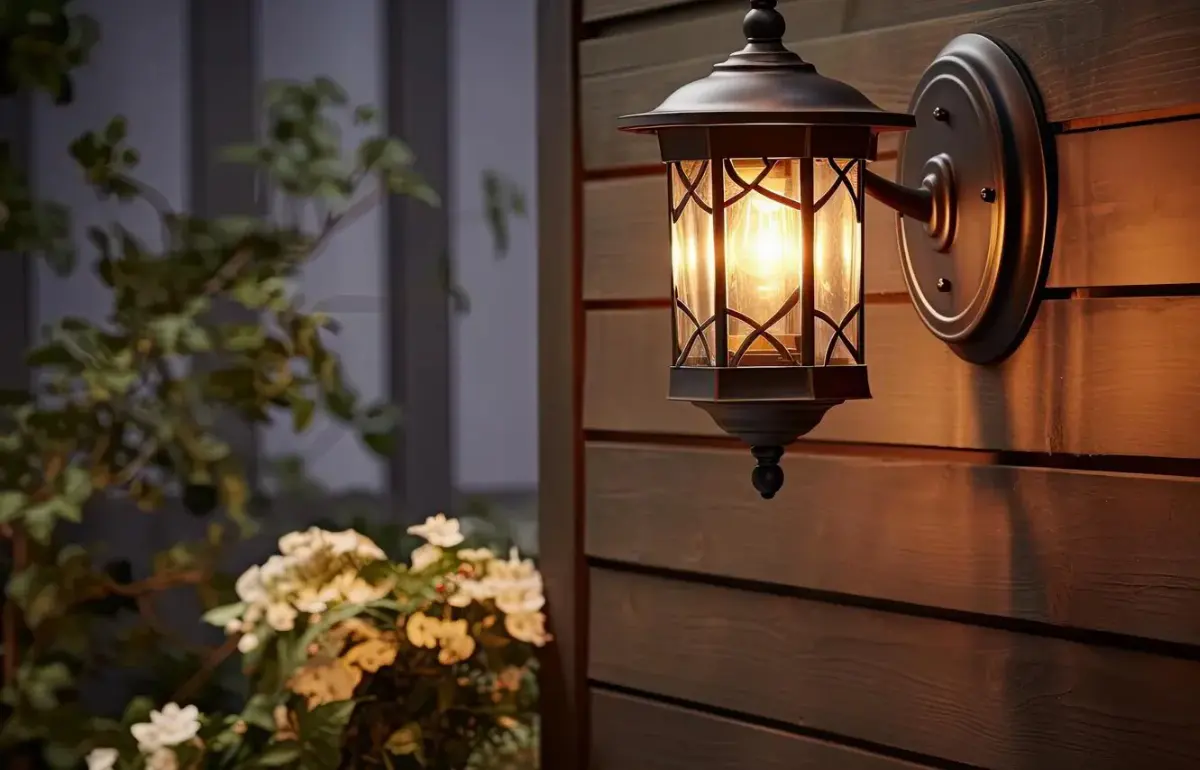
Changing an outdoor bulb looks like a two-minute task, yet exterior fixtures have a way of complicating things. Covers get stuck, screws rust, glass is heavier than expected, and the bulb you grabbed from the kitchen drawer turns out to be the wrong kind. This walkthrough covers the process from start to finish for a typical homeowner, so the job goes smoothly and the fixture stays weather-tight afterward.
Step 1: Make It Safe
Switch off the light at the wall and, if you are unsure which switch controls it, turn off the breaker too. If the bulb was recently on, wait several minutes for it to cool. Choose a stepladder or extension ladder rated for your weight, set it on level, solid ground, and avoid leaning sideways to reach. Wear gloves if you are handling glass covers. For fixtures above the first floor, consider calling a professional rather than climbing.
Step 2: Choose the Right Replacement
Before you climb, figure out exactly what you need. Look at the old bulb or the label inside the fixture.
- Base type: most porch lights use a standard medium base, while some decorative lanterns use a smaller candelabra base.
- Maximum wattage: never exceed the rating printed on the fixture.
- Location rating: open fixtures need a bulb rated for wet locations; enclosed ones need a bulb rated for enclosed use.
- Controls: if the light is on a dimmer, photocell or motion sensor, choose a bulb labeled as compatible.
- Color: match the color temperature of your other exterior lights for a consistent look.
Step 3: Open the Fixture
Outdoor fixtures open in a few common ways. Coach lights often have a hinged glass door or a top cap held by a decorative nut. Jelly-jar fixtures have a glass globe that unscrews counterclockwise. Flush-mount ceiling fixtures on porches typically have a cover held by a center nut or side screws. Support the glass with one hand while loosening with the other so nothing drops. If a screw is rusted, a drop of penetrating lubricant and a few minutes of patience beat forcing it.
Step 4: Swap the Bulb
Unscrew the old bulb gently. If it is stuck, a rubber jar opener or grip pad helps. If the glass has broken away from the base, stop and leave it to a professional or electrician rather than improvising. Screw the new bulb in until snug, without overtightening. Wipe away insects and dust from inside the housing while you have it open, and clean the glass before reassembling.
Step 5: Reseal and Test
Check that any rubber gasket is intact and seated, then reattach the cover. A good seal keeps out rain, snowmelt and insects, all of which Massachusetts provides in abundance. Restore power and test the light. If it still does not work with a new, correct bulb, the issue may be electrical, and that is a job for a licensed electrician.
If ladders are not your thing, or you have several tall fixtures, Busy Bee provides bulb replacement and exterior lamp cleaning in one visit. We are fully insured and work throughout Worcester, Middlesex, Norfolk and Suffolk County. Book a free estimate and let us take care of the climbing.
Let Busy Bee handle it
Skip the ladder. Get a free, no-obligation estimate from our fully insured team.
Get My Free Estimate